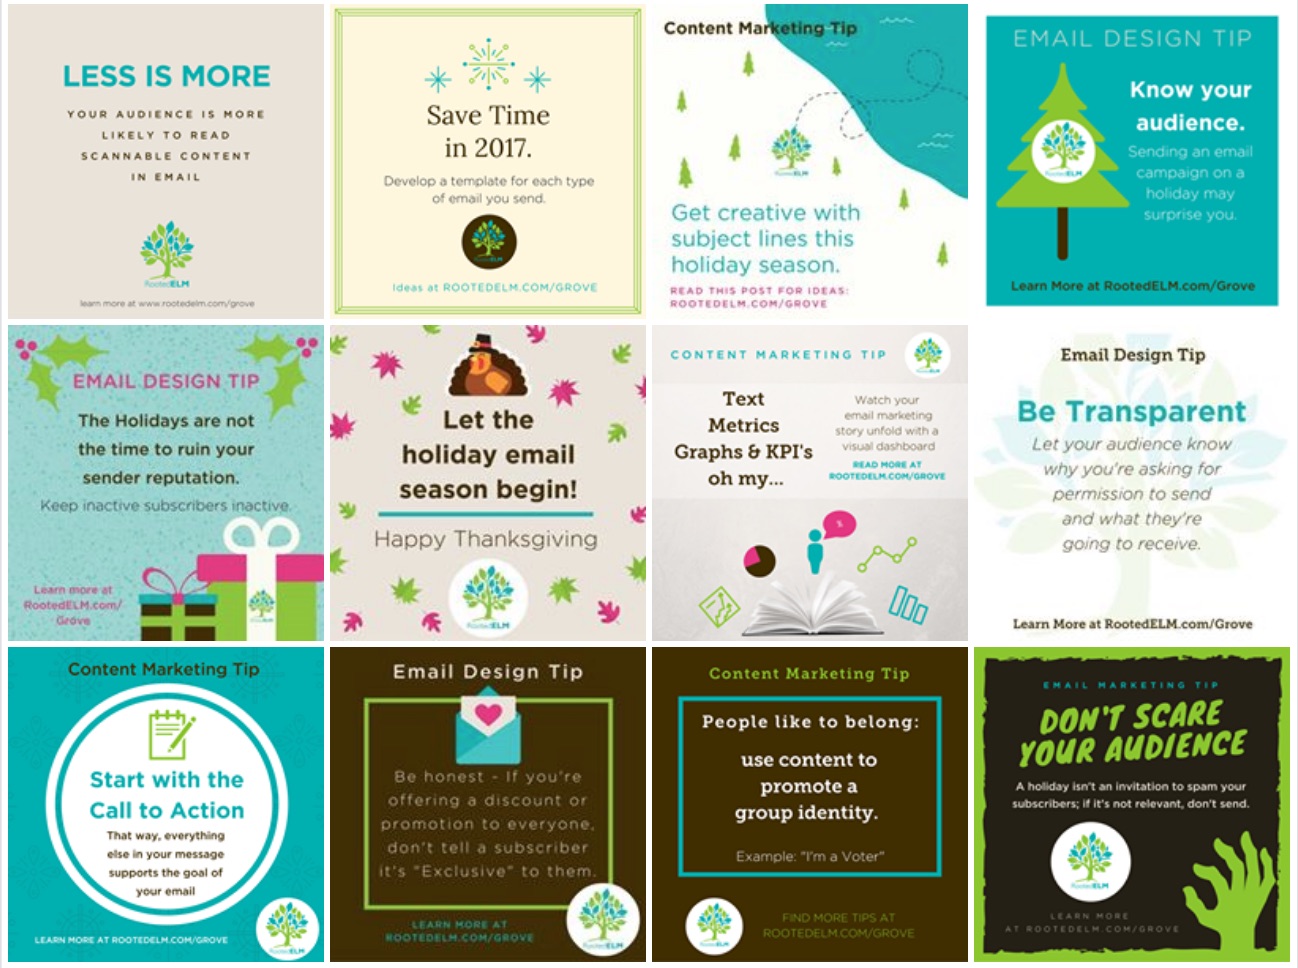
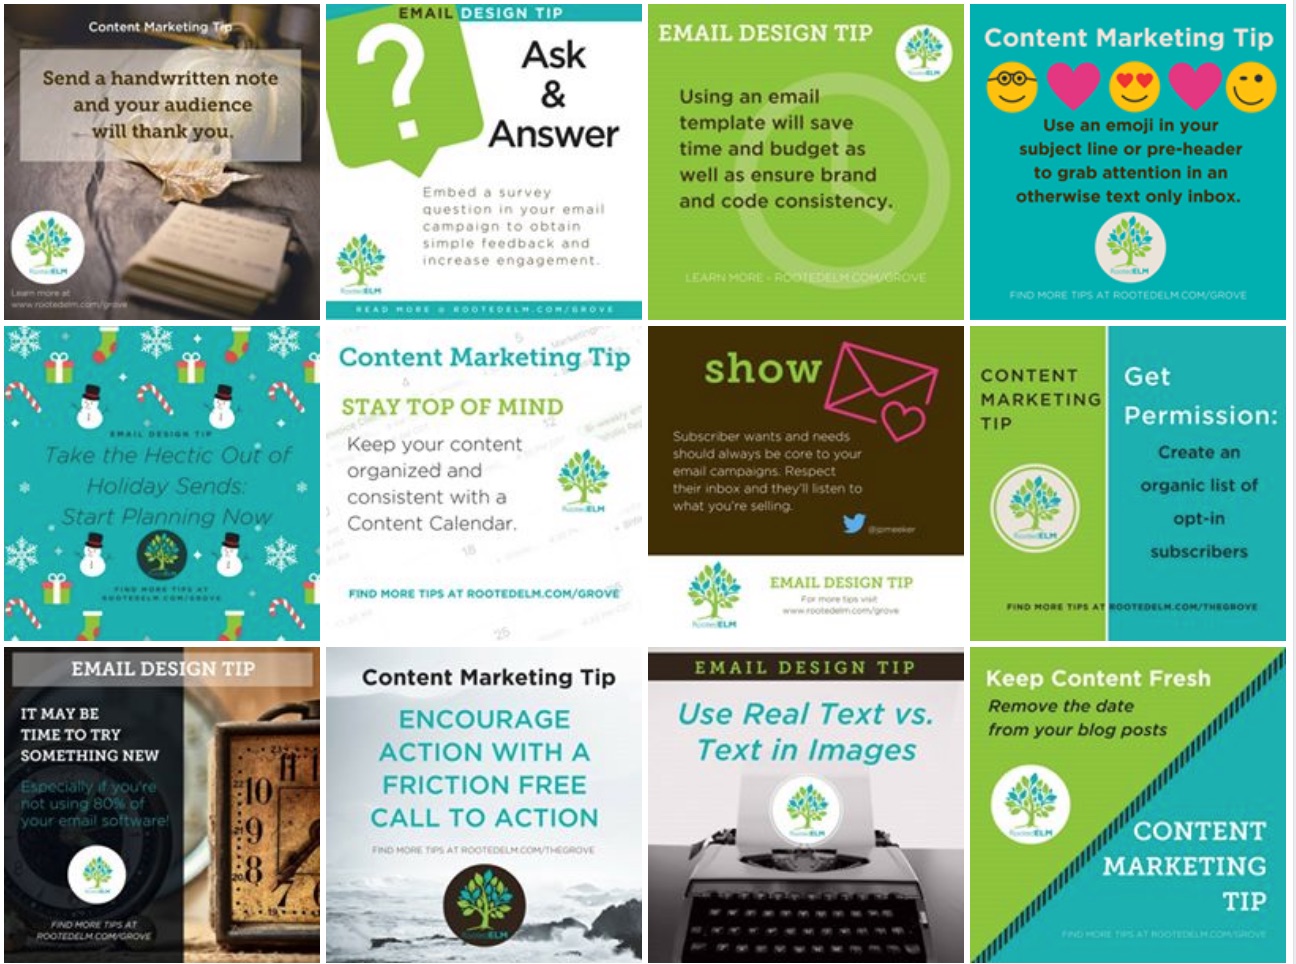
If you’ve been following RootedELM on Facebook, Twitter or received our email newsletter, you’ve probably noticed our Email Design Tips each Tuesday, and our Content Marketing Tips each Thursday. After talking to our audience, we discovered the bite-size information is just what they needed to keep them up to speed on the latest best practices, but give them the option to take a deeper dive through a supporting blog post.
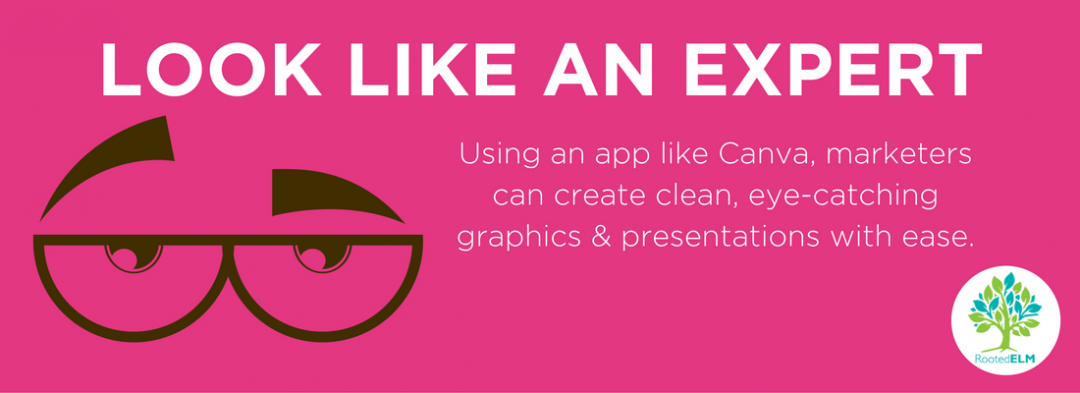
Although these may look like they are crafted by a graphic design expert, believe it or not, they are so easy to make that even the graphically challenged, like myself, can make clean, eye-catching graphic in no time at all! The trick is using an app like Canva to create your masterpieces.
We started using Canva to create the banners for our blog posts, but quickly branched out to using them for social media posts and even proposals. I admit to being slightly intimidated the first time, but I quickly learned how easy and intuitive the process is, and can now make a image for social media posts in less than 15 minutes. No joke!
Here’s how it works:
- Sign up for a Canva account. There are free and paid versions. We chose a modest paid subscription to Canva for Work that allows us to share our designs as a team and upload our own logos for use.
- At the top you can choose to create whatever you need: a poster, blog graphic, presentation, etc. For social media posts choose, “social media.”
- On the left hand side, you have options for changing the layout, background, text and adding additional elements. Start by choosing one of the free or low cost layouts. I almost always find a free layout I like for my project.
- Next, click on the supplied text boxes and simply type in your own message. You can also delete the text boxes you don’t want or add your own new ones. At the top of your project, you’ll see pull down options where you can change the font, size and even line spacing of your text.
- Using the tabs to your left, you can also add elements including shapes, photos and graphics. You can use the toolbar at the top of your project to change the colors of the background and any elements you apply.
- When you are happy with your design, simply save and download as a jpg, png or pdf file. You can also share your design with others via email by clicking the share button at the top. I do this after every creation so I can gather feedback from my team members before I post to social media.
Viola! Just like that you’ve created an eye-catching graphic that you can use on all your social media channels.
Remember, when you post to social media, use this order:
content + link to resource/blog + #hashtag + graphic
Have questions? Give us a call! We consider ourselves old pros at this point (wink, wink) and we’d be happy to walk you through your first design. You can also learn more here.